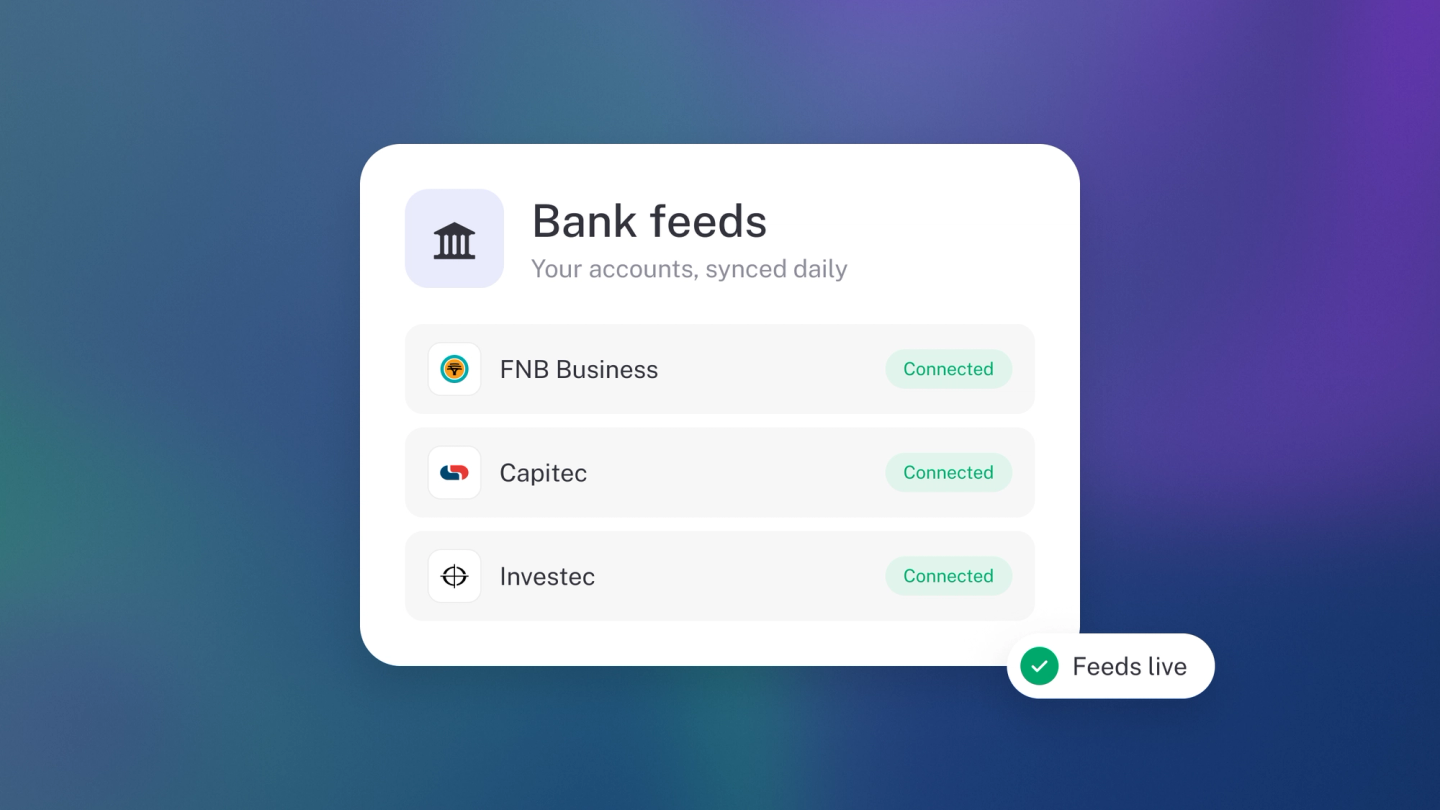
A bank feed is a live link between your bank account and stub. Connect it once and every payment in or out arrives in stub by itself — no downloading statements, no retyping, no catching up at month end. If you spend evenings typing transactions off a statement, or your books and your bank balance never quite agree, this is the fix.
Transactions keep arriving in the background for as long as the feed is connected, ready for you to categorise. That's the stub way: let the apps do the typing.
Owners, administrators and editors can add a bank account. Only owners and administrators can delete one.
Connect your bank
- Go to Settings → Bank Accounts.
- Click Bank account. The Add bank account window opens.
- Choose Connect.
- Pick your bank from the list.
- Enter the credentials your bank asks for.
- Approve the request in your banking app if your bank sends one.
- Choose the accounts you want to sync.
Your transactions start arriving, and keep arriving in the background from then on.
Some banks also appear as cards under Settings → Apps, in the Bank section. Clicking one opens the same connection flow. Capitec and Investec have no card there — connect them right here instead.
Check on a connection
Settings → Bank Accounts shows every account; click one to see how its feed is doing. These states are worth knowing:
- Just connected. The first sync takes a little while — nothing is wrong, your transactions are on their way.
- Choose accounts. If you connected a bank but didn't tick any accounts, Settings → Bank Accounts reminds you that the bank is connected and asks you to choose which accounts to sync. Click Choose accounts, tick the ones you want and save. No transactions arrive until you do.
- Requires update. Your bank wants something — a changed password, a fresh approval. Click Update and follow the prompts.
- Can't be refreshed. Some connections expire for good. Click Reconnect account, and if your bank still blocks it, remove the account and connect it afresh.
- Sync says to reconnect. Some banks only let stub refresh your feed after you sign in. If you press Sync and your bank needs you, stub shows a warning with a Reconnect button instead of "You're all caught up". Click Reconnect, sign in to your bank and approve the request. Then sync again.
A feed that has quietly gone stale looks like missing transactions, so this page is worth a glance if the numbers seem thin.
On the free plan, a connected feed brings in the last month of transactions, and you press Sync to fetch new ones. Upgrade to Steady Startup for automatic sync and older transactions. See Keep a connected app in sync.
Add an account without a feed
Any account can be added by hand — when there's no feed for your bank, or you'd rather keep things manual. Go to Settings → Bank Accounts, click Bank account and switch to Add manually. The form asks for the usual details: account name, number, bank, branch code, account type and SWIFT code. Two settings are worth a pause:
- Opening balance — set it if you're moving books across, so stub starts from the right number.
- Show this account on invoices — prints your bank details at the bottom of invoices and statements, so customers know where to pay.
Archive an account you have closed
Go to Settings → Bank Accounts, open the account and click the archive button — closed accounts are archived, not deleted, so your history stays put. Use the Active and Archived switcher to move between the two lists. To remove an account and the transactions it brought in, see Remove a bank account.
No feed for your bank?
Drop a PDF statement into Files and stub reads the transactions off it. See Upload files to stub.
Then categorise what comes in
A feed brings transactions in; it doesn't file them. See Categorise bank transactions.