
You're out there taking payments with Yoco. stub's handling your books. The only problem? They weren't talking to each other - and you were stuck in the middle, doing the maths, wondering where the money went.
Not anymore.
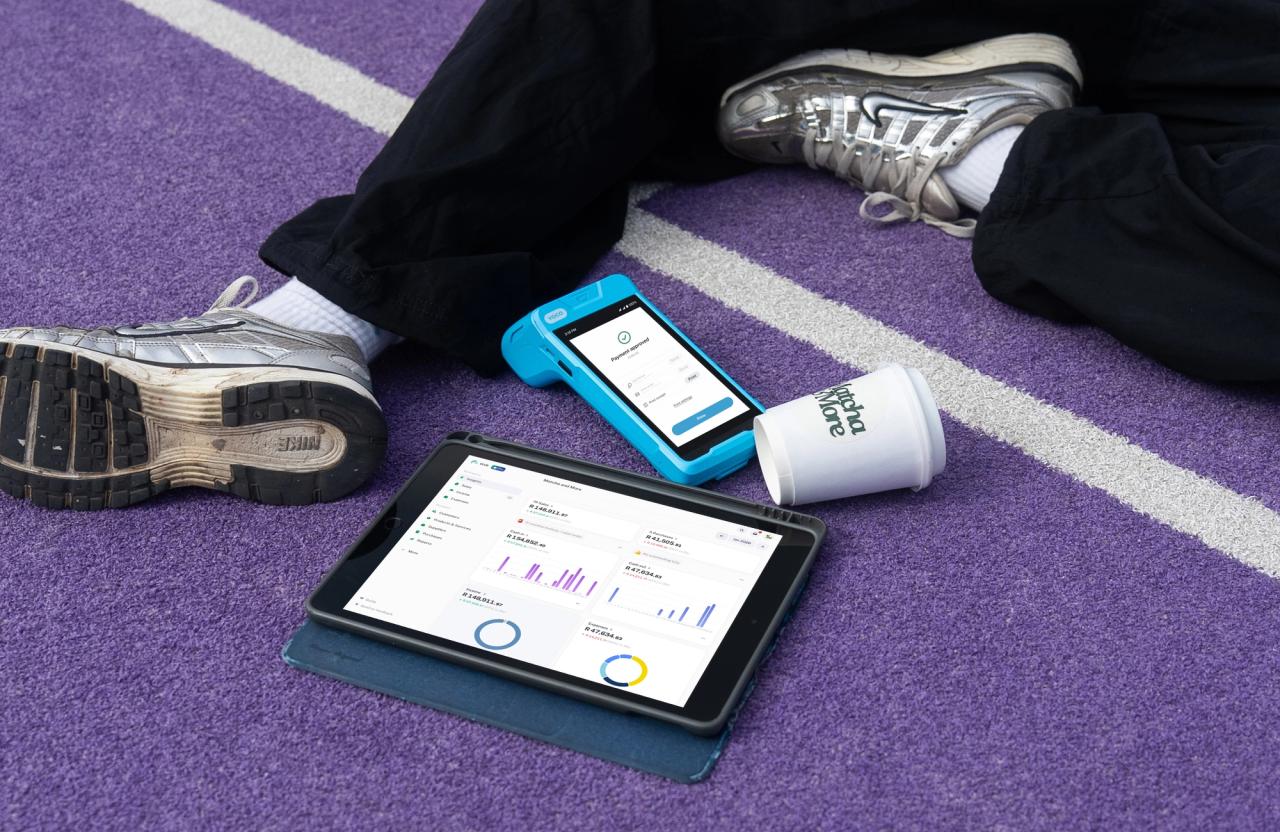
The full picture, automatically
Connect Yoco to stub and everything syncs. Sales. Fees. Refunds. Tips. Payouts. Even Yoco Capital repayments. It all flows in automatically and matches what's sitting in your bank account.
No exports. No spreadsheets. No late-night calculator sessions that end in quiet despair.
Here's what gets synced — and where it lives in stub:
- Sales - all your Yoco income, categorised as "sales"
- Payouts - the net amount that lands in your bank account
- Fees- every processing charge, logged as "merchant fees." You gotta spend money to make money.
- Refunds - handled cleanly, not just dumped in a corner. Categorised as "refunds"
- Tips - kept separate from sales, because they're taxed differently. Categorised as "tips and donations"
- Yoco Capital - the loan, the repayments, all tracked. Categorised as "loan"
That's the full picture. What came in, what it cost you to get it, and what's actually yours.
What can you actually do with this
- Know your real profit. Not your gross sales. Your actual take-home, after fees, refunds, and repayments. The number that matters.
- Stop reconciling manually. stub matches your Yoco payouts to your bank deposits. Automatically. No more "which deposit was that again?" at 11pm on a Sunday.
- See everything together. Yoco sales + other income + expenses = finally knowing where you stand. Without opening six different tabs. (We counted. It's always six.)
- Be ready for tax time. Always. Everything categorised, stored, and ready for SARS or your accountant. Done before you even think about it.
How to connect
One minute. Works forever.
- Log in to stub. Head to your dashboard.
- Go to Apps. In the left-hand menu, click Apps.
- Find the Yoco tile. You'll see the Yoco app listed. Click it.
- Click "Connect". You'll be redirected to a secure Yoco login flow.
- Log in to your Yoco account. Follow the on-screen steps and give permission to connect.
- Confirm the connection and set your preferences. Here, you will be able to chose your sync date, add location data and decide how you want to manage tips in your books. Once approved, your Yoco account is linked to stub. If you’ve enabled background sync, stub will automatically sync your Yoco app for you.
That's it. Your Yoco data flows into stub automatically from here.
Want a hand getting set up? Book a session with stub’s entrepreneurs accountant.
In this session you’ll:
- Connect your Yoco account with stub (and create a stub account if you don’t have one)
- Set up all your accounting foundations with an expert
- Import all your historical data into stub
- Answer any questions you may have about managing your business finances with stub
Book your free session with stub’s entrepreneurs accountant here.
P.S. When you first connect, you can customize what date you wanto to sync data from. Not starting from scratch -starting from now.
P.P.S. Your bank deposit won't match your Yoco sales exactly. That's completely normal. It's the net payout after fees and refunds. stub breaks it all down. This is also why connecting your bank to stub is a reeeally good idea.
P.P.P.S. stub is R189/month, billed separately from your Yoco plan. Your accountant's relief is free.