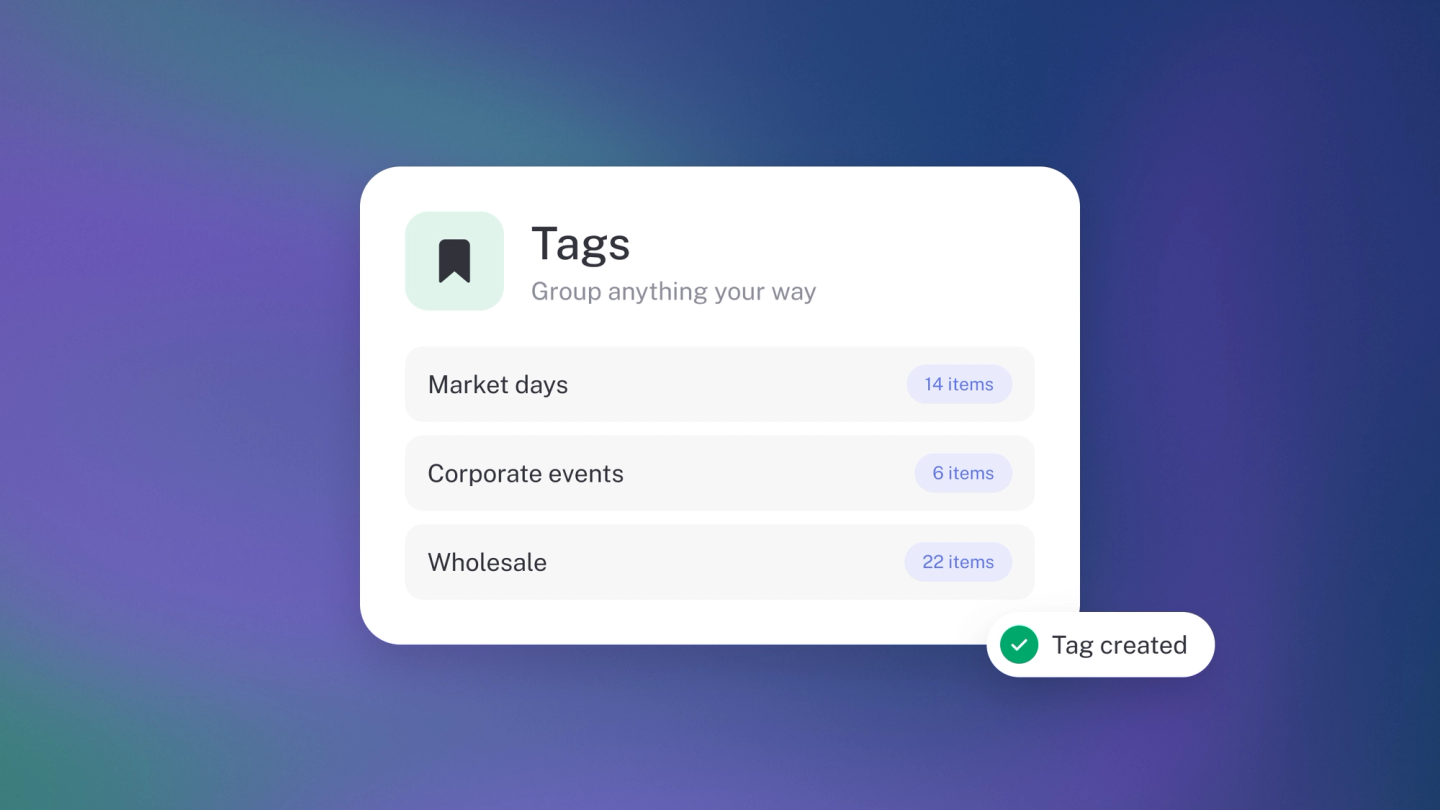
Tags are how you teach stub the shape of your business. Your accounts already know what you earned and what you spent; tags are what let them tell you where — this invoice belongs to that project, this bill to that branch, this expense to that campaign. Put them on your records as you go and the By-tag reports can later show you exactly which job, site or campaign made money.
The value is entirely in the habit. A few seconds of tagging at the moment you create a record buys answers you can't reconstruct later — nobody goes back through nine months of invoices to work out which client was actually worth it.
What to know before you start
- Tag both sides or the answer misleads you. A job tagged on its invoices but not its bills will look far more profitable than it is. Costs need the same tag as the revenue they earned.
- Consistency beats coverage. "joburg", "jhb" and "joburg-office" as three separate tags give you three separate half-answers. Agree the name once, then reuse it.
- Renaming is safe; deleting isn't. Renaming a tag updates it everywhere it's already used. Deleting strips it from your history, which quietly changes reports you've already run.
- Archive is the retirement path. An archived tag stays on the records that carry it — history and reports untouched — and simply stops being offered on new ones. That's what you want for a project that wrapped or a campaign that ended.
- Groups are for legibility, not reporting. They keep a long list navigable; the reporting still happens per tag.
- A split line can carry its own tag, so one payment can feed two different reports.
Create a tag
Head to Settings → Tags, click Add, name the tag, pick a Group if you use them, and save.
Group your tags
Tags can sit in groups, so a long list stays readable — a "Projects" group and a "Branches" group rather than thirty tags in a row. Set the group when you create or edit a tag: the Group field offers your existing groups plus New group… to start a fresh one, and typing a name that already exists picks that group rather than creating a near-duplicate. A group only exists through its tags — once no active tag carries it, it drops off the list by itself. And remember: groups keep the list tidy; the reporting still happens per tag.
Edit a tag
In Settings → Tags, click the tag, change the name or group, and Save. Renaming a tag updates it everywhere it is already used.
Archive a tag
Click the tag, then Archive, and confirm. To bring it back, switch the list to Archived, open the tag, and click Unarchive.
Delete a tag
- Click the tag, then click Archive.
- In the archive dialog, click the trash button and confirm.
Note: Archive is almost always what you want. Delete removes the tag from your history too.
Put a tag on a record
On a document — an invoice, quote, bill, purchase order or payslip — the tag selector lives in the Options panel on the left. On an income or expense, click the Tag button at the bottom of the window. On a customer, supplier or asset, use the tag selector on their page. You can also tag a split line, so one payment can feed two different reports.
Report on your tags
This is the payoff. See Report by project, branch or campaign.
Tip: Decide your tag names before you need them — one per project, branch or campaign you'd ever want a separate profit figure for. Tagging is cheap at the moment of entry and impossible afterwards.