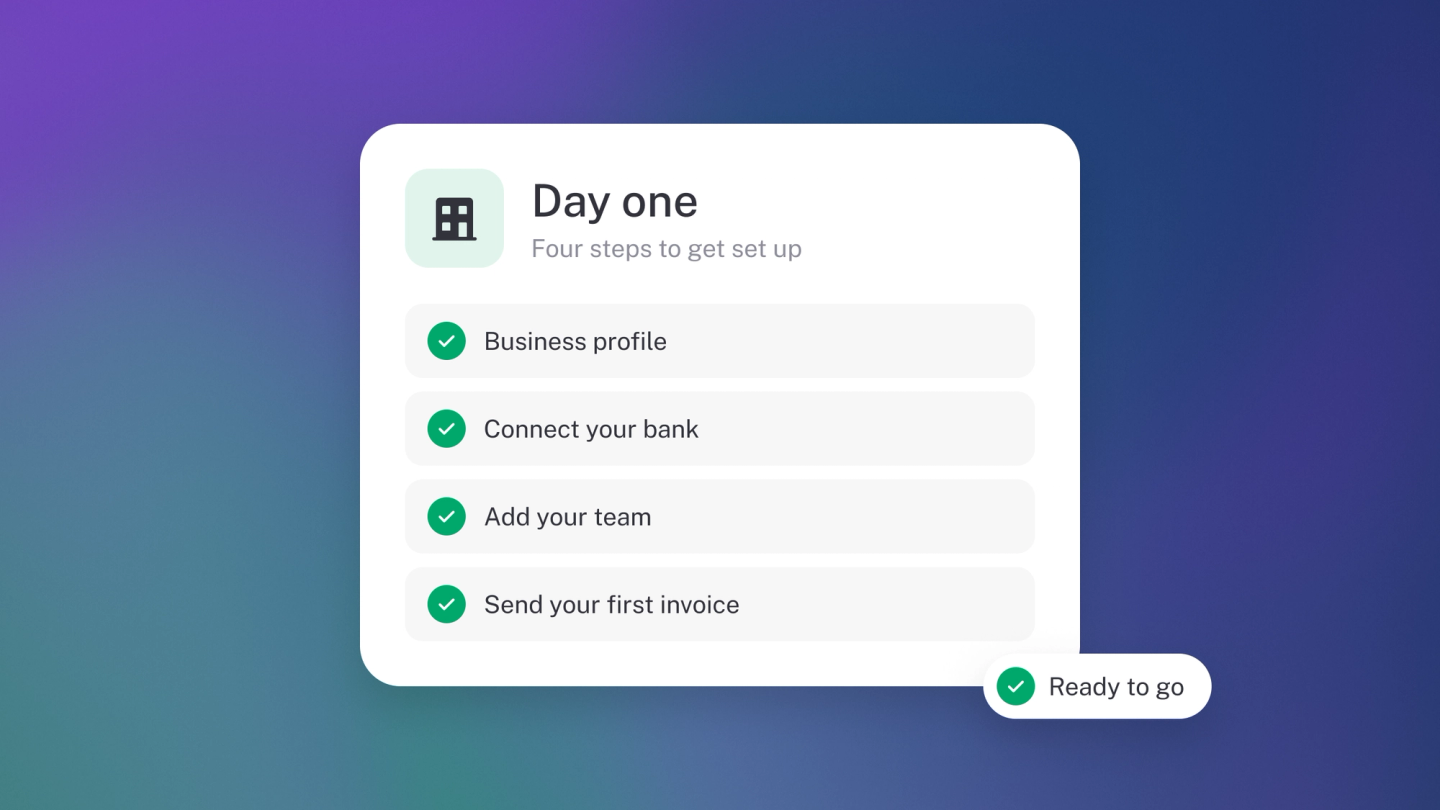
Welcome to stub. Just signed up and not sure where to start? This is the page for that. Seven steps, in order, take you from a blank account to a branded invoice in a customer's inbox — under ten minutes if your details are handy. And you can stop after any step and pick it up again later; nothing breaks if step 6 waits until tomorrow.
Your first 14 days are a free trial of Steady Startup, so everything below is open to you today — bank feeds, extra seats and all. Nothing to pay, no card. See Your free trial.
Step 1: Gather your business info
Collect these before you start so setup runs in one pass:
- Registered business name and registration number
- Tax number and Sales Tax (VAT) number, if you are registered
- Business address, email address and phone number
- Your business bank account details
Step 2: Fill in your business details
Your business details appear on every invoice, quote and report you send, so this is the foundation for everything else.
Click Settings in the sidebar — you land straight on Business. Fill in your name, business type, registration and tax numbers, then your address, email and phone under Details. The form walks you through it.
Full guide: Set up your business details
Step 3: Add your logo and brand colour
Make your documents unmistakably yours.
Stay in Settings → Business and find the Design heading: upload your Logo, then pick your Accent colour (the colour is a premium extra; the logo is free). Both land on every invoice and quote you send from here on.
Full guide: Add your branding
Step 4: Set your financial information
Your business currency and financial year will be set to a default based on your region, but it’s worth double checking them anyway.
Go to Settings → Finance and set your Operating currency and your Financial year start — that's the month and day your financial year begins, not a year-end date.
Full guide: Set your financial year & currency
Step 5: Add your team
Go to Settings → Team, click Member and enter their name and email — the invite goes out straight away.
New members join as Editors, with full accounting access but no ability to edit bank accounts or manage the team. Only an owner can add members. Extra seats come with Steady Startup and up, which seats 3 — you have those during your trial. On Sneaky Side Hustle it's just you.
Full guide: Add your team
Step 6: Connect your bank
Go to Settings → Bank Accounts, click Bank account, choose Connect and follow your bank's prompts. Two things to know: only the business owner can connect a bank, and live bank feeds come with Steady Startup and up — so they're on during your trial. On Sneaky Side Hustle you add transactions by hand or by file import.
Full guide: Connect your bank
Step 7: Send your first invoice
The payoff — and the quickest way to see everything you just set up working together.
- Click Sales in the sidebar, then Create → Invoice.
- Add a customer and a line item, then click Send — that's your branding on a real document.
Full guide: Create & send invoices
Once it's sent, click Insights in the sidebar. That's stub's home screen, and your numbers now have something to show.
Tip: Press N on any list page to open its Create menu, then I for an invoice, Q for a quote, B for a bill.