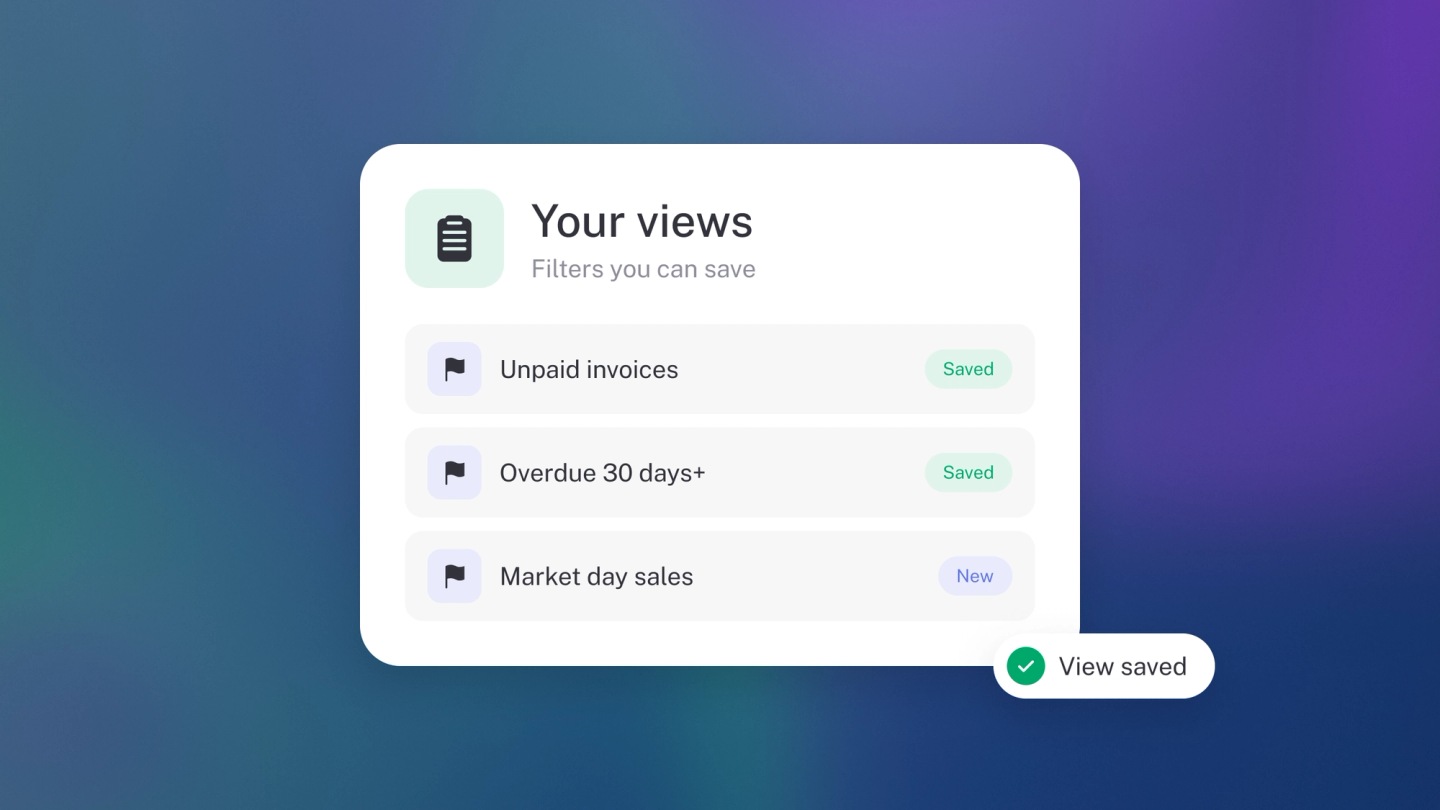
Every list in stub opens on All — everything, newest first. That is fine on day one and not so useful by month three, when you're re-clicking the same three filters every morning. A view is a filter set you've named and saved, so the list you actually work in is one click away.
Views are available on Sales, Expenses, Customers, Suppliers, Products & Services, Assets, General Ledger, and Settings → Transactions. They work the same way on every one of them, and views are free on all of them — though the Assets and General Ledger pages themselves come with the Steady Startup plan.
Insights has views too, but a saved Insights view holds a layout of tiles rather than filters — see Your Insights dashboard.
Save your first view
- Open any list — start with Expenses.
- Set the list up the way you want it, using the controls in the grey bar: Filter for category, status, supplier, tag and flag; Show all for document types and accounts; Sort for the order.
- Click the Save view icon at the end of the row of view buttons at the top of the page.
- Type a name — Bills, Cash, Card — and click Save.
Your new view appears as a button next to All and is selected straight away. Click All to go back to the unfiltered list, and your view's button to return to it.
Note: the month or date range at the top right is not part of a view. It follows you around stub separately, so a view always shows the period you're currently looking at.
Three views to set up in Expenses
- Bills — click Show all, untick All purchases, tick Bill, then untick All accounts. You get supplier bills only, with no everyday card and cash spending mixed in. Add a Status filter of Due and Overdue if you want it to double as your "what do I owe" list.
- Cash — click Show all, untick All purchases, then untick All accounts and tick only Cash. Everything paid for out of the till or your pocket, which is exactly the list you want when you're catching up on receipts.
- One per bank account or card — same menu, tick a single account under Transactions. Name it after the account (FNB cheque, Capitec card, Yoco). Reconciling one account against one statement is far quicker than scrolling a merged list.
A fourth one worth having: filter Category → Uncategorised and save it as To sort. That is your bookkeeping to-do list.
Three views to set up in Sales
- Quotes — click Show all, untick All sales and tick Quote. Your open pipeline, separate from work already invoiced.
- Unpaid — click Filter, choose Status, and tick Due, Overdue and Partially Paid. Everyone who still owes you money, in one click.
- One per sales channel — under Transactions in the Show all menu, tick a single account: your Yoco takings, your online store, or the bank account a particular client pays into.
Change, rename or remove a view
Select the view, then change any filter, the Show all selection or the sort. A Save button appears next to your views — click it to update the view, or ignore it and the change stays temporary, gone next time you select the view.
To rename a view, select it, click the ··· button next to it, and click Edit. To remove it, click ··· → Remove and confirm with Delete. Only the view goes — nothing in your books is deleted.
Good to know
- Views are saved to your business, not to your browser — they show up on your phone, and everyone on your team sees the same set. Name them so they make sense to someone else.
- A view stores its filters, its Show all selection and its sort order. It does not store a date range.
- Saving a new view clears the filters off All, so All always goes back to being the full, unfiltered list.