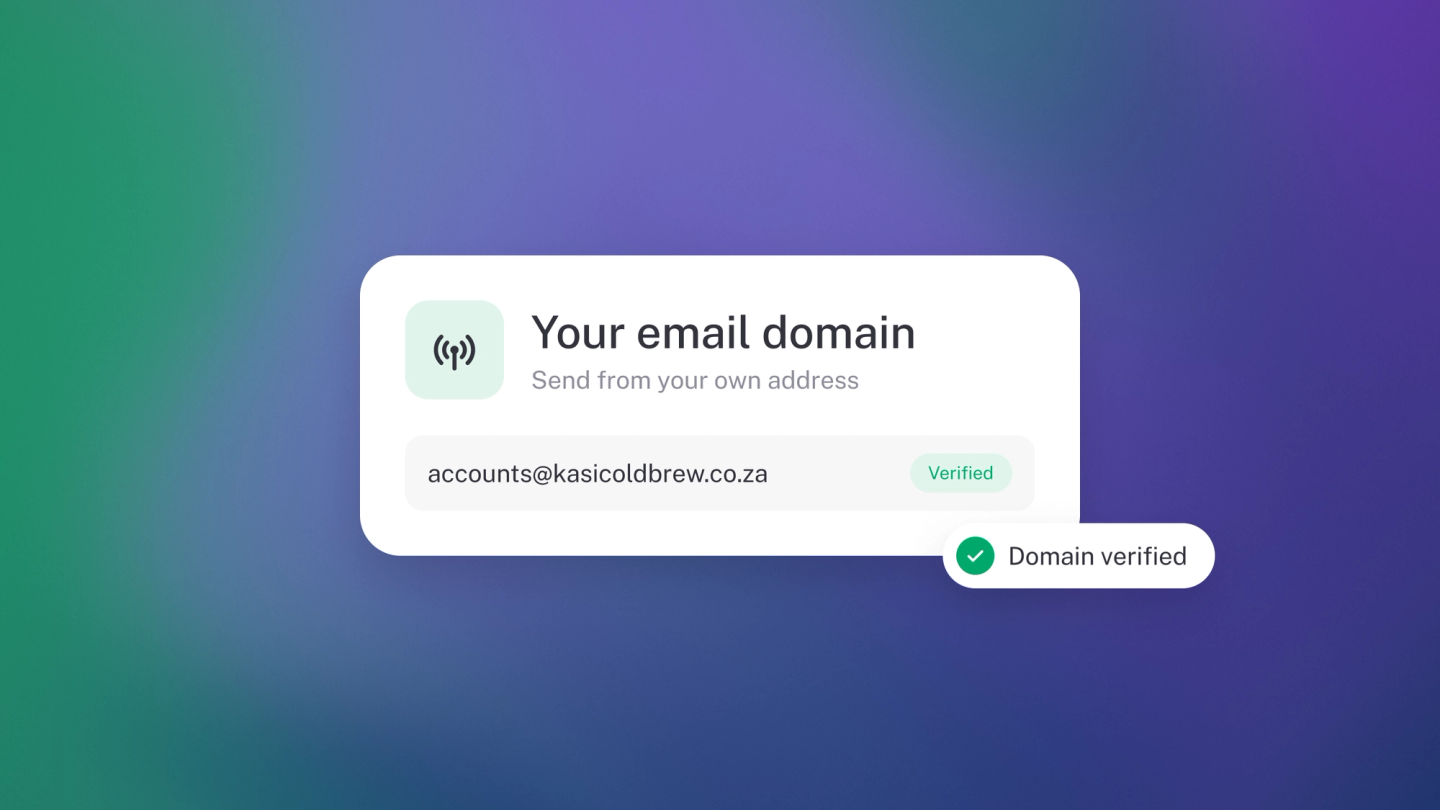
By default, stub sends your outbound documents — invoices, quotes, statements and payment reminders — from stub's own mail servers. That works, but the email arrives from us rather than from you. Connect your own SMTP mail server and those documents go out from a domain your clients already trust, with your address in the From line. Account and security emails — sign-in links, password resets, anything about your stub account — always send from stub, whatever you set here.
You'll need your mail provider's SMTP details to hand: host, port, username and password. Your provider's help pages list them under "SMTP" or "sending mail".
Set it up
- Go to Settings → Email, under Administration.
- Next to Custom SMTP, click Configure.
- Turn on Use custom mail server.
- Enter your SMTP host and Port.
- Choose the Security your provider requires — STARTTLS (usually port 587), SSL / TLS (usually port 465), or None (unencrypted).
- Enter your Username and Password.
- Check the From address — the address your documents will come from. If your username is an email address, stub fills this in for you; change it if you send from a different address.
- Add a From name if you want a name rather than a bare address in your clients' inbox. Optional.
- Click Save.
Save stays greyed out until every required field is filled in and something has actually changed — so it greys out again the moment your configuration is saved.
Verify the connection
A saved configuration is Not yet verified, and stub will never send through an unverified one. Prove it works:
- Click Test connection.
- stub sends a real test message through your server to your From address.
- On success the configuration is verified, and your documents start going out through your own server.
If the test fails, stub shows you exactly what the mail server said — wrong port for the security mode and a rejected password are the two usual culprits. Fix the field and test again.
Note: Change your server details or password and the configuration goes back to unverified until a fresh test passes. Nothing sends through it in the meantime — your documents keep going out from stub rather than failing.
Change it later
Go to Settings → Email and click Edit next to Custom SMTP. Your saved password is never shown, for security. Leave the field blank to keep it — you only need to re-enter it to change the password, or to run another test.
The row on the settings page tells you where you stand at a glance: your host, whether it's Verified, and whether it's Enabled.
Switch it off without losing it
Turn off Use custom mail server and click Save. Your settings stay exactly where they are, and outbound documents go back to sending from stub. Turn it on again whenever you want — no re-typing, no re-testing.
Remove it
- Click Edit next to Custom SMTP.
- Click Remove.
- Confirm.
This deletes your saved host, credentials and From address for good. Outbound documents go straight back to stub's default mail server, and you can configure a custom server again at any time.
Tip: Whichever way outbound documents go, your clients still reply to you. Custom SMTP changes who the email comes from, not where the replies land.