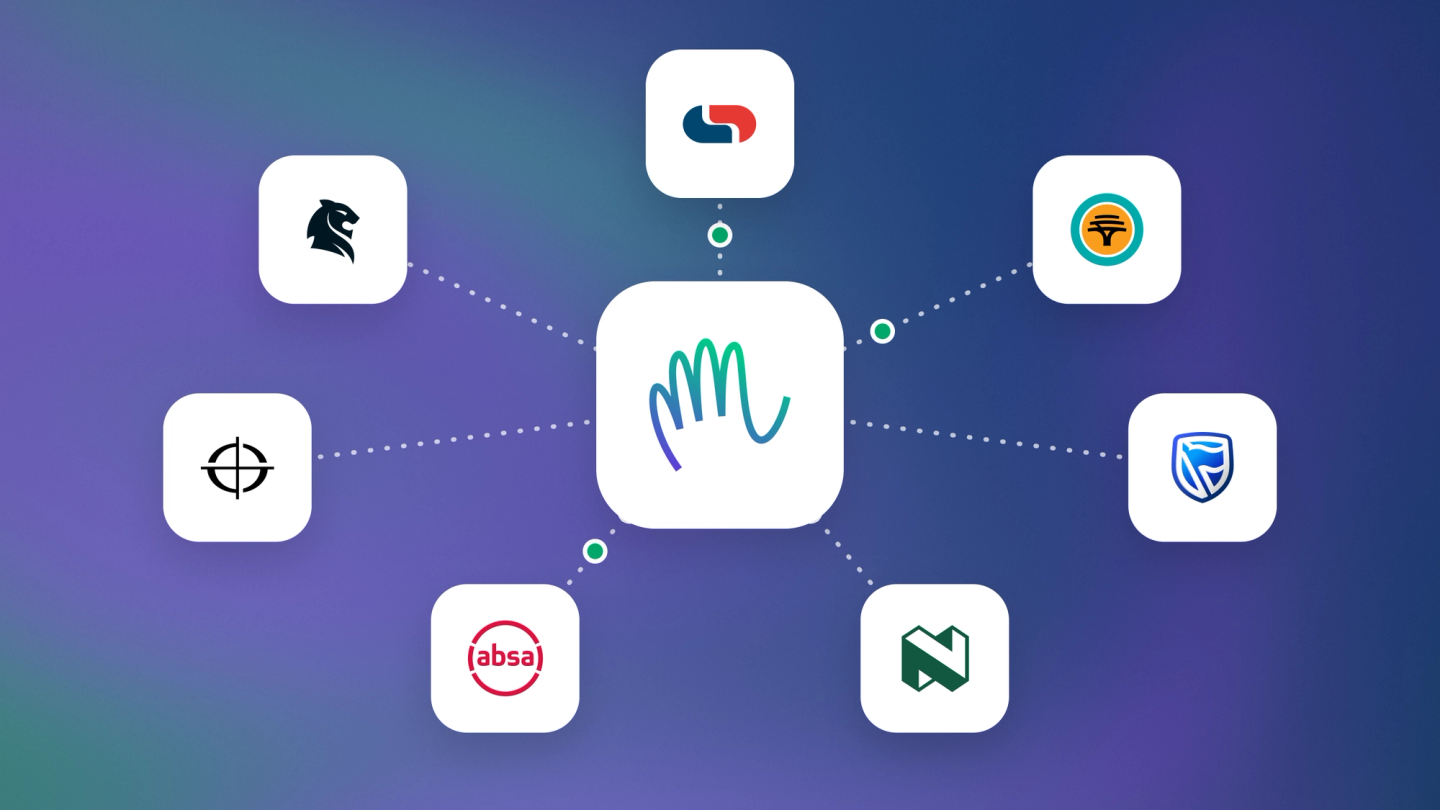
Connecting your bank is the single biggest time-saver in stub: your transactions flow in on their own, so your numbers stay current without you ever typing up a statement.
Only an owner can add a bank account.
Where bank accounts live
Bank accounts have their own page: Settings → Bank Accounts. That is where you add an account, connect it to a live feed, edit it or archive it.
Some banks also appear as cards under Settings → Apps, alongside your other integrations. Both routes open the same connection flow.
Connect your bank
- Go to Settings → Bank Accounts.
- Click Bank account. The Add bank account window opens.
- Choose Connect to set up an automatic feed.
- Choose your bank and follow the prompts to authorise the connection.
Full steps, including what each bank asks for: Connect bank feeds.
Add an account without a feed
If your bank has no live feed, add the account manually and bring transactions in another way.
- Go to Settings → Bank Accounts.
- Click Bank account, then choose Add manually.
- Enter the Account name, Account number, Bank, Branch code, Account type and SWIFT code.
- Set an Opening balance if you are moving books across.
- Turn on Show this account on invoices if you want your details printed on what you send.
Note: The opening balance you set here belongs to this one account. Your business-wide starting numbers are a separate, ledger-wide setting — see Set opening balances.
No feed? Send in your statements
Drop a PDF bank statement into Files and stub reads the transactions off it. See Upload files to stub.